Custom Conversion Source (Alternative)
Integrate AnyTrack to conversion sources not available in the Integrations Catalog.
In this guide, you will discover how to integrate AnyTrack with conversion sources not currently featured in the Integrations Catalog. This process involves leveraging a custom integration that facilitates server-to-server data transfer using a Postback URL.
Overview
Connecting your conversion sources with AnyTrack is essential for tracking conversions and enriching lead data for your ad networks. AnyTrack already offers integrations with the most popular conversion sources, which you can find in the Integrations Catalog. We are continuously integrating new platforms and actively considering your integration requests.
This guide is for users who wish to integrate platforms not yet listed in the Integrations Catalog. If the platform meets the requirements for establishing a server-to-server connection using a Postback URL, chances are you can connect it to AnyTrack by following the steps outlined in this guide.
More Data, Better ROI
Integrate as many conversion sources as possible. The more conversion data you integrate and harmonize, the smarter your ad networks become in their delivery of ads and identification of audiences.
Prerequisites
-
The platform you wish to integrate as a custom conversion source must be capable of establishing a server-to-server connection with AnyTrack using a Postback URL. Different platforms may refer to this connection method by different names; for example, CAKE calls it Server to Server Pixel, Maxbounty calls it "Callback URL," Facebook terms it "ConversionAPI," and CJ Affiliates names it Cookieless Tracking. Despite the diverse terminology, these names all denote the same server-to-server communication technology. To determine if the platform supports this connection method, consult their documentation or reach out to their customer support.
-
An understanding of how Postback URLs work. If you are not yet familiar with them, we recommend you to read The Postback URL Ultimate Guide.
Setup Guide
1. Install the Custom Integration
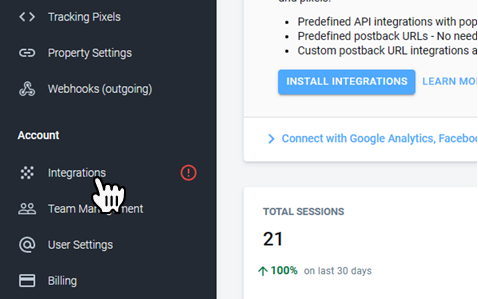
Sign in to your AnyTrack account and from the left menu navigate to Account: Integrations.
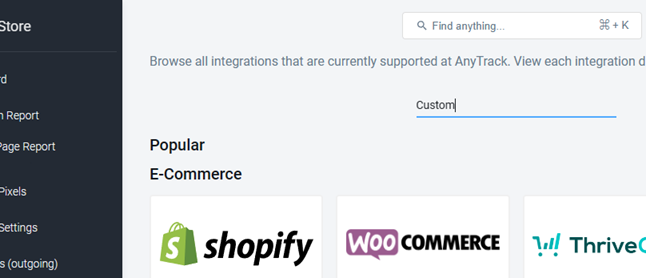
Click the + Add Integration button.

Type Custom in the search field and hit enter.
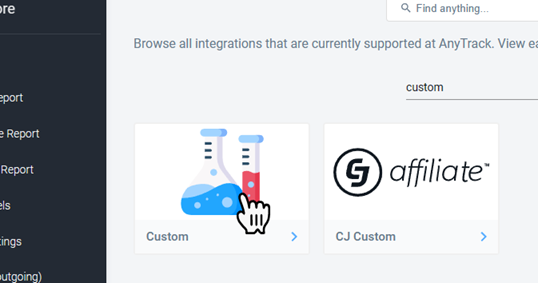
Click on the Custom integration.
Click the Install Integration button in the integration screen.
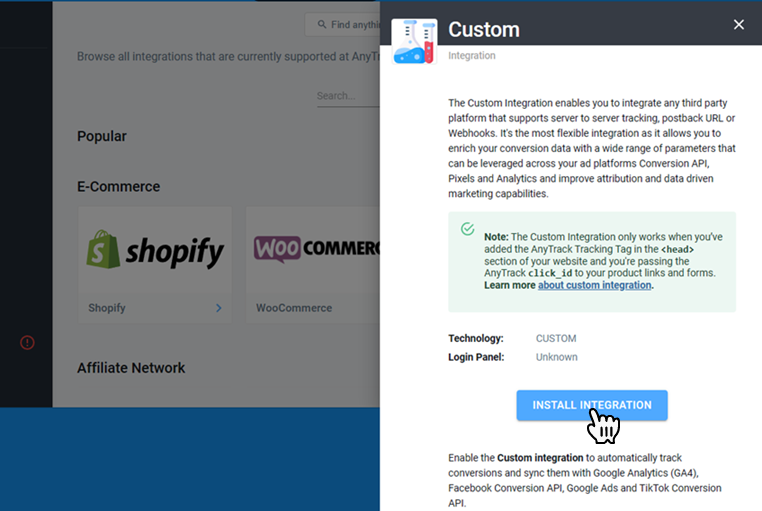
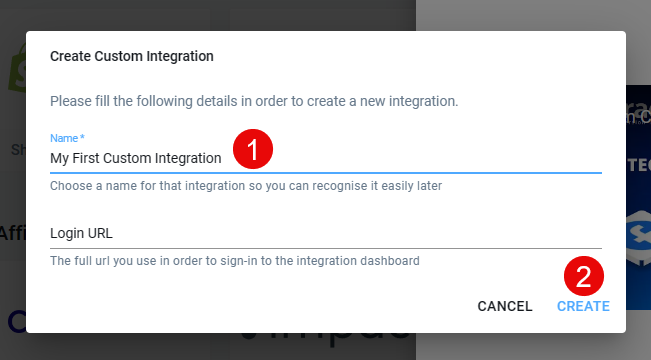
Enter a Name for your custom integration in the Create Custom Integration form, leave the Login URL field empty, and click Create. This will open the Custom Integration page.
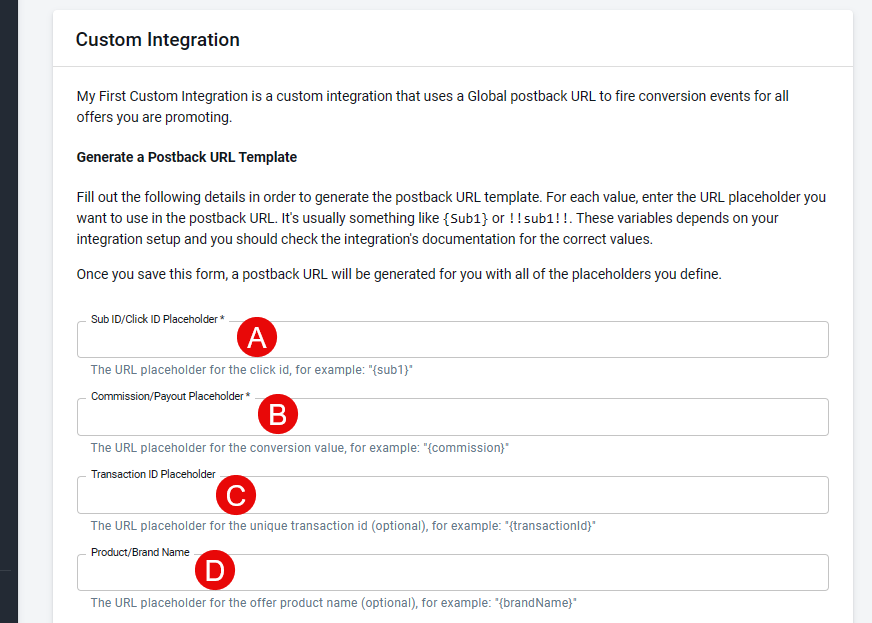
2. Generate a Postback URL Template
After completing the previous step, fill out the Generate a Postback URL Template page using the reference table of parameters below. This will be used to generate a customized URL that your conversion source will use to send the tracking parameters to AnyTrack.
Research Ahead 🔎
Platform terminology varies for these parameters, also known as additional variables, additional parameters, or "tokens." For example, the Sub Id is refer to by {SubId1},{aff_id}, or s2. To understand their specific references, it's crucial to delve into each platform's documentation.
Platform terminology for tracking parameters, such as "additional variables," "additional parameters," or "tokens," varies. The Sub Id on different platforms may be referred to by different names, like {SubId1}, {aff_id}, or s2. Understanding these specific references requires delving into each platform's documentation.
Examples
Custom Conversion Source Integration Setup: Impact
See in action how to setup a custom conversion source with AnyTrack. In this video we use the Impact platform to illustrate how to integrate a custom conversion source using server-to-server communication.
Custom Conversion Source Integration Setup: HasOffers
In this second video we use the HasOffers platform to illustrate how to integrate a custom conversion source with AnyTrack, again using a Postback URL as the server-to-server connection method.
Connecting your conversion source with AnyTrack is essential in order to track conversions.
In case that you don't find your conversions source integration in our catalog, select the custom conversion source available in the catalog.
Good to know:
A conversion source is where the conversion takes place - a partner website, affiliate network, e-commerce platform, CRM, a course platform, etc.
Option #1 Server Side integration
If you're not familiar with the difference between Server Side and Client Side Tracking you should read more about server side tracking
.
Prerequisites:
- You need a webhook url from Zapier or Integromat - Learn more about [doc:webhooks].
- Generate a ClickID for your product links: our tracking method is based on creating ClickID for tracking the events on your website. By inserting the AnyTrack Tag into your website, AnyTrack will generate a
clickIdautomatically.
Client-side tracking
Check out the next tutorial about how to trigger standard events
To activate client side tracking you need to set the AnyTrack Tag on your website, and add the Event Snippet where you'd like to trigger the events.
For example, if you want to trigger a Lead event when a user reaches a "thank you" page, you'd want to add the following snippet on the thank you page.
This is an example of the “Lead” event snippet:
More examples of event tracking snippets are available in the custom event tracking article.
<script>
 // trigger a lead event
var click_id = AnyTrack('trigger', 'Lead');
</script>
Or an OutboundClick followed by a redirect
<script>
<button type="button" onclick="handleBuyMe">Buy Me</button>
<script>
function handleBuyMe() {
    var click_id = AnyTrack('trigger',
        'OutboundClick');
    window.location =
        'https://some-store.com/?sub1=' +
        encodeURIComponent(click_id);
}
</script>
Standard Events
You can change the event name with any of the [doc:standard-events] names.
What shall I do if I am not a programmer?
If you're not a programmer, the AutoScan function enables you to "click & define" your tracking settings, without writing a line of code.
How to use the AutoScan function:
- Navigate to the property settings
- Open the autoscan tab.
- Search the page where the element you'd like to track is.
- Decide which element or page you would like to mark as an event.
- Pick the relevant event name from the drop down menu.
Once you've updated the elements, anytrack will automatically track them and forward them to your Facebook Pixel / api and Google Ads via API according to your settings.
Updated 12 days ago